Quick Navigation
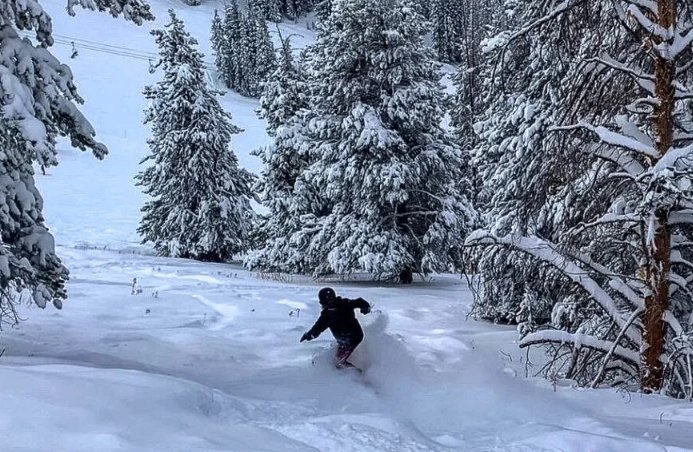
You're standing at the top of a pristine slope, the sun glinting off fresh powder, and your friend carves a perfect turn below. You raise your camera, but the shot ends up blurry or washed out. Sound familiar? Ski photography tips aren't just about pointing and shooting; they're about capturing the speed, emotion, and beauty of the mountains. I've been shooting ski photos for over a decade, from backcountry expeditions to resort races, and I've learned that most guides miss the subtle details that make or break a shot. Let's dive into the essentials that'll transform your winter photography.
Essential Gear for Ski Photography
Gear matters, but it's not about having the most expensive camera. It's about choosing tools that survive the cold and capture action. I once lost a day of shooting because my camera battery died in minutes—lesson learned.
Camera and Lens Selection
For ski photography, a mirrorless or DSLR camera with fast autofocus is key. Brands like Sony and Canon offer models that handle cold well. Don't obsess over megapixels; focus on frames per second. A camera that shoots at least 10 fps helps catch those split-second jumps.
Lenses? Start with a 24-70mm f/2.8 zoom. It's versatile for landscapes and close-ups. If you're shooting from a distance, a 70-200mm f/2.8 is a lifesaver. I rarely use primes because skiing is unpredictable—you need flexibility.
Protective Gear for Your Equipment
Snow and cold are brutal on cameras. A waterproof housing or a simple rain cover can prevent moisture damage. Silica gel packets in your bag fight condensation. And always carry extra batteries—cold drains them fast. Keep batteries in an inner pocket close to your body to stay warm.
Straps matter too. Use a cross-body strap so your camera doesn't swing while you ski. I've seen too many people fumble with neck straps on chairlifts.
How to Compose Stunning Ski Photos
Composition separates snapshots from art. It's not just rule of thirds; it's about storytelling. Think about what makes skiing exciting—the motion, the terrain, the faces.
Rule of Thirds and Leading Lines
Place skiers off-center using the rule of thirds. Imagine your frame divided into nine squares; position the subject at the intersections. For leading lines, use ski tracks, tree lines, or mountain ridges to guide the eye toward the action. A shot of a skier following a fresh track through trees creates depth.
But don't overthink it. Sometimes breaking the rules works—like centering a skier against a vast sky to emphasize isolation.
Capturing Action and Emotion
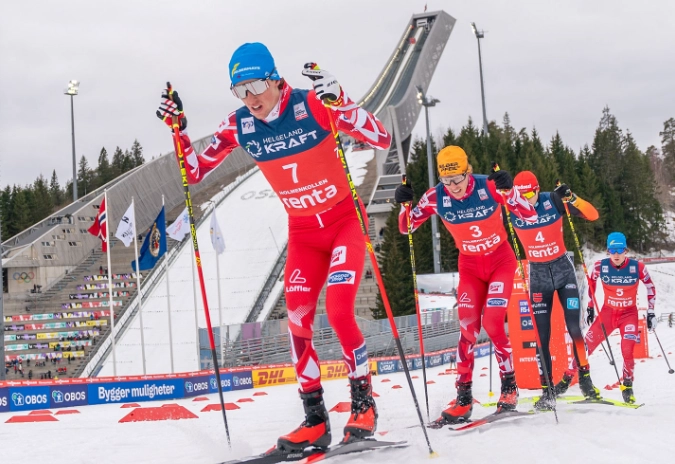
Action shots need anticipation. Pre-focus on a spot where the skier will pass, then shoot in burst mode. For emotion, zoom in on faces—the grin after a jump, the concentration in a turn. Candid moments often beat posed ones.
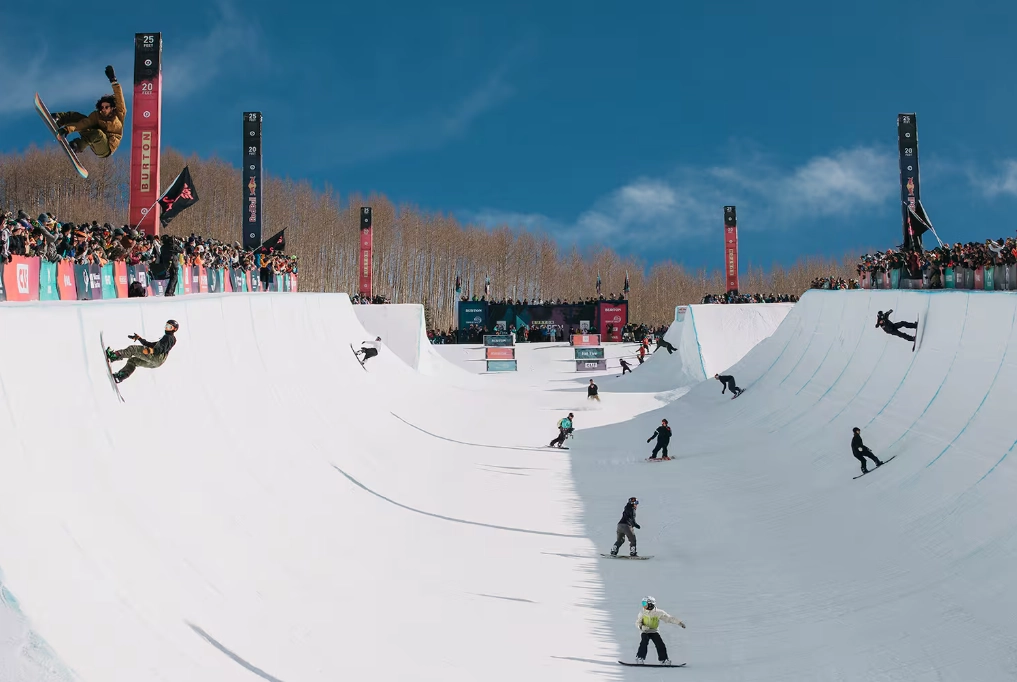
Shoot from different angles. Get low to the ground for a dynamic perspective, or shoot from above to show the entire run. I often hike a ridge to get aerial-like views without a drone.
Technical Settings for Ski Photography
Technical settings can intimidate beginners, but with ski photography, it's about balancing light and motion. Snow reflects light, so exposure is tricky.
Shutter Speed, Aperture, and ISO
Use a fast shutter speed to freeze action—start at 1/1000s or faster. For blurry backgrounds with a sharp subject, open your aperture to f/2.8 or f/4. But in bright snow, you might need to stop down to f/8 to avoid overexposure.
ISO should be as low as possible to reduce noise, but don't hesitate to bump it up in low light. Modern cameras handle ISO 1600 well. I often shoot in aperture priority mode, letting the camera adjust shutter speed, but manual mode gives more control.
Dealing with Snow and Light Conditions
Snow is bright, so your camera's meter can be fooled. Use exposure compensation: +1 to +2 stops to keep snow white, not gray. Check your histogram—aim for a balanced spread without clipping highlights.
Flat light on cloudy days? Increase contrast in-camera or shoot in RAW for later editing. Polarizing filters cut glare off snow and enhance sky blue.
Common Mistakes and How to Avoid Them
Everyone makes mistakes, but in ski photography, some are costly. I've ruined shots by ignoring simple checks.
Blurry Photos and Overexposure
Blurry photos often come from slow shutter speed or poor focus. Use continuous autofocus (AI Servo for Canon, AF-C for Sony) to track moving subjects. Overexposure happens when snow dominates the frame. Spot meter on the skier's face or jacket, not the snow.
Avoid shooting into the sun unless you want silhouettes. Side lighting highlights texture in snow.
Missing the Moment
Timing is everything. Anticipate the action—know when a skier will jump or turn. Shoot before and after the peak moment. Burst mode helps, but it fills memory cards fast. I carry extra cards and delete duds on the go.
Don't forget to interact with subjects. A quick shout to get their attention can lead to a better shot.
Post-Processing Tips for Ski Photos
Post-processing isn't cheating; it's enhancing what you captured. Shoot in RAW for flexibility. I use Lightroom, but free tools like Darktable work too.
Basic Adjustments in Lightroom
Start with exposure and contrast. Boost shadows to reveal details in dark areas, like under goggles. Reduce highlights if snow is blown out. Clarity and dehaze sliders add punch to mountain scenes.
White balance is crucial. Snow should look white, not blue or yellow. Use the eyedropper tool on a neutral area.
Enhancing Colors and Contrast
Ski photos often need color pop. Increase vibrance slightly, not saturation, to avoid unnatural skies. Use the HSL panel to tweak blues for the sky and oranges for skin tones.
Sharpening and noise reduction depend on your output. For web, moderate sharpening is fine. For prints, be gentler.