Jump to What You Need
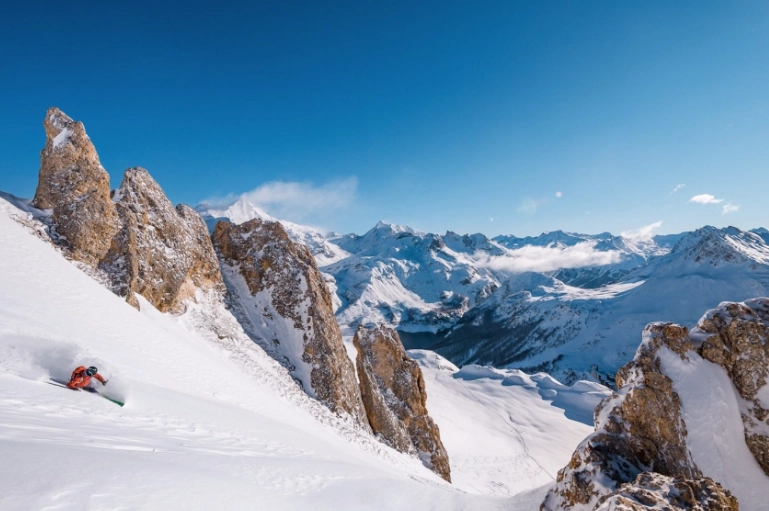
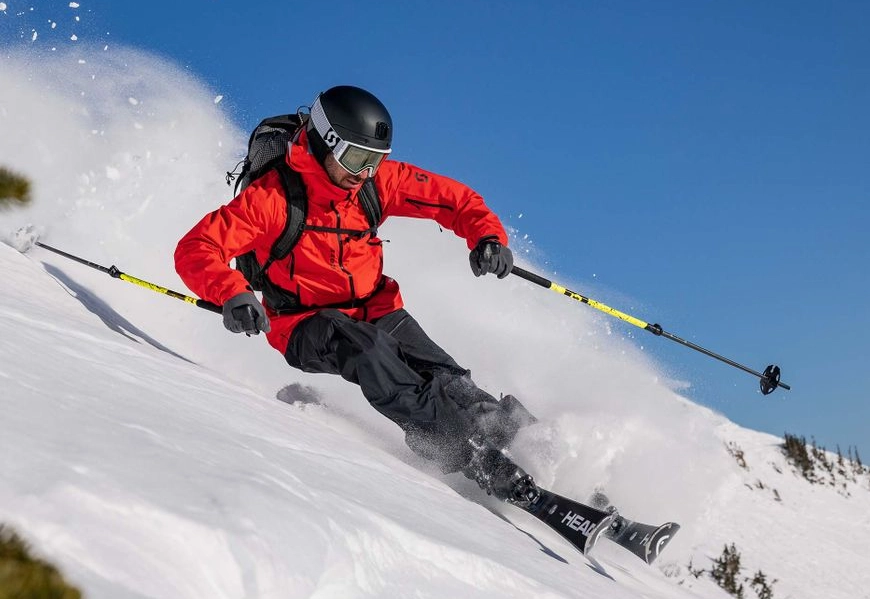
If you've ever watched expert skiers glide down a slope leaving crisp, parallel lines in the snow, you've seen carving in action. It's not just for racers—mastering the carving technique can transform your skiing from wobbly turns to smooth, controlled arcs that feel almost effortless. I've been skiing for over a decade, and I still remember the first time carving clicked for me: suddenly, steep runs felt manageable, and icy patches weren't so scary. This guide cuts through the jargon to give you a practical, no-fluff approach to learning carving, whether you're an intermediate looking to level up or a beginner aiming for good habits from the start.
What Ski Carving Really Is and Why It Matters
At its core, carving is about using the edges of your skis to slice into the snow, creating a turn without skidding. Think of it like a knife cutting through butter versus smearing it. When you carve, your skis follow a natural arc dictated by their shape, which helps maintain speed and stability. Why bother? Skidding turns—where you pivot or slide the skis sideways—waste energy, slow you down, and can lead to loss of control on harder snow. Carving, on the other hand, gives you precision, especially on groomed runs, and it's the foundation for advanced skiing like moguls or off-piste.
I see a lot of skiers stuck in the intermediate plateau because they never move past skidding. They might think carving is only for experts, but that's a myth. With the right focus, anyone can learn it. The International Ski Federation (FIS) emphasizes edge control as a key skill for all levels, and resources from organizations like Professional Ski Instructors of America (PSIA) back this up. It's not just about going faster; it's about skiing smarter and with more confidence.
How to Carve on Skis: A Step-by-Step Breakdown
Let's break it down into actionable steps. Forget the complex theories—here's what you need to do on the snow.
Start with the Right Stance
Your body position sets everything up. Stand tall but relaxed, with knees slightly bent and weight evenly distributed over both feet. Avoid leaning back or hunching forward. I often tell friends to imagine a string pulling them up from the head—it keeps you centered. Your arms should be forward and out for balance, like you're holding a tray.
Initiate the Turn with Your Lower Body
This is where most beginners mess up. Don't twist your shoulders or hips to start the turn. Instead, roll your ankles and knees inward toward the direction you want to go. This subtle movement engages the ski edges. For a left turn, press your left knee slightly inward; for a right turn, do the same with the right knee. It feels weird at first, but it's more efficient than throwing your weight around.
Control the Edge Angle
As you roll into the turn, increase the edge angle by tilting your skis more onto their sides. The sharper the angle, the tighter the carve. But don't overdo it—start with gentle tilts on easy slopes. Your skis should do the work; if you're straining, you're probably forcing it. A good cue is to feel pressure on the balls of your feet and the outside edge of the turning ski.
Maintain Pressure and Balance
Throughout the turn, keep your weight centered. Avoid leaning too far inside, which can cause you to catch an edge. Instead, think of pressing down through the ski, especially as you exit the turn. This helps release the edge smoothly and prepare for the next carve. I've seen skiers who focus too much on leaning and end up off-balance—it's a common pitfall.
Finish and Transition
As you complete the turn, gradually reduce the edge angle and let the skis come back to a flat position. Then, immediately start the next turn by rolling the opposite knee. The transition should be fluid, not jerky. Practice linking turns on a gentle blue run until it feels natural.
Pro Tip from Experience: When I first learned, I spent hours on a flat, wide slope just making shallow carves. It felt boring, but it built muscle memory without the pressure of speed. Try that before hitting steeper terrain.
5 Common Carving Mistakes You're Probably Making
Even experienced skiers slip up. Here are the big ones I've noticed—and how to fix them.
- Over-rotating the Upper Body: You twist your shoulders to steer, which disconnects your lower body. Fix: Keep your chest facing downhill and let your legs do the work. Practice with poles held horizontally in front to remind yourself.
- Leaning Back in the Boots: This puts weight on the tails, making the skis hard to control. Fix: Focus on pressing your shins into the boot tongues, especially at the start of turns.
- Skidding Instead of Carving: You're still pivoting the skis sideways. Fix: Slow down and concentrate on rolling your ankles. Look for those clean lines in the snow—if they're messy, you're skidding.
- Inconsistent Edge Pressure: You vary pressure mid-turn, causing chatter or loss of grip. Fix: Maintain steady pressure through the entire arc. Imagine drawing a smooth curve with your skis.
- Ignoring Terrain Adaptation: Trying the same carve on ice, slush, or bumps. Fix: Adjust your edge angle and speed. On ice, use quicker, shorter carves with more edge; in soft snow, be gentler.
I made mistake #1 for years until a coach pointed it out. It's subtle, but fixing it improved my carving overnight.
Choosing the Right Equipment for Carving
You don't need top-end gear, but the right equipment helps. Here's a quick guide based on my testing and recommendations from sources like Ski Magazine reviews.
| Equipment Type | What to Look For | Why It Matters for Carving |
|---|---|---|
| Skis | Narrow waist (65-80mm underfoot), deep sidecut, medium to stiff flex | Easier edge engagement, better grip on hard snow |
| Boots | Snug fit, forward lean adjustment, responsive flex | Precise control over edge pressure and balance |
| Bindings | Adjustable DIN settings, good elasticity | Secure connection without hindering movement |
If you're on a budget, all-mountain skis can work, but consider demoing carving-specific skis for a day. I once rented a pair of Volkl Deacon skis—their sidecut made carving feel effortless compared to my old all-mountain boards. Boots are even more critical: a poorly fitted boot will sabotage your technique. Visit a professional bootfitter if possible; it's worth the investment.
Effective Practice Drills to Hone Your Carving
Theory is fine, but practice makes perfect. Try these drills on a groomed, gentle slope.
- Railroad Tracks: Make two parallel lines in the snow with your skis, focusing on keeping them evenly spaced. This forces you to use edges without skidding. Start slow, then increase speed as you improve.
- J-Turns: Ski straight, then carve a turn to one side until you stop, forming a J shape. Repeat on both sides. It isolates the initiation and finish phases.
- One-Ski Carving: Lift one ski slightly off the snow and carve with the other. This exaggerates balance and edge control. Switch skis frequently.
- Edge Set Practice: On a mild slope, carve a turn and deliberately set the edges hard at the end to hear a scraping sound. It builds confidence in edge engagement.
I spent a whole weekend doing railroad tracks with a friend, and by Sunday, our turns were noticeably cleaner. Drills feel tedious, but they pay off.
Frequently Asked Questions About Carving
Carving isn't a magic trick—it's a skill built through patience and practice. I've seen skiers transform their abilities by focusing on these fundamentals. Remember, even pros have off days. The key is to enjoy the process and celebrate small wins, like that first smooth carve down a run. Now, get out there and leave some clean lines in the snow!